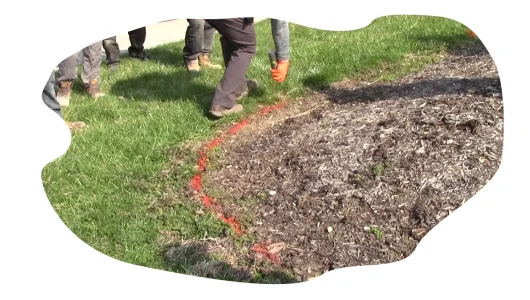
This process is all about you choosing design and us preparing the ground for the actual curb to be laid down. By cutting the grass around the project area, we are allowing the grass to grow into the curb, creating a more natural, interesting final product.
We spray down our recommended lines for the curb
You decide on which design you would like
Our crew cuts the sod, rolls it up, and removes it
Step 2
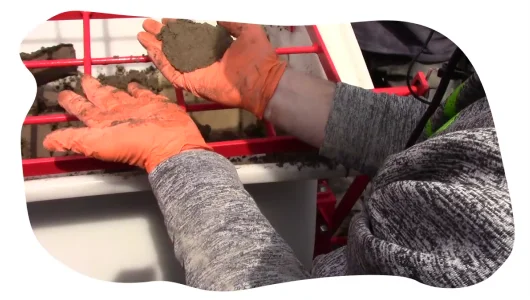
Mixing
We bring our mixers on our trucks to make the job faster and easier for everyone. With your design and pattern in mind, our team will create the perfect mix right before laying the curb.
We’ll mix the concrete for you specific design needs
We keep everything on our truck for easier cleanup
Step 3
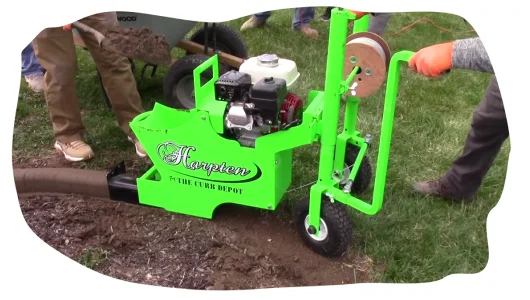
Extruding
We’ve laid over 1 million feet of curbing, so this is our bread and butter. Using our own machine, the Harpten, we’ll lay perfect curb to the design that you agreed upon before we started the first step.
We focus on perfect color matching
Our stamps will be nice, symetrical, but also natural in style so it doesn’t seem too manufactured
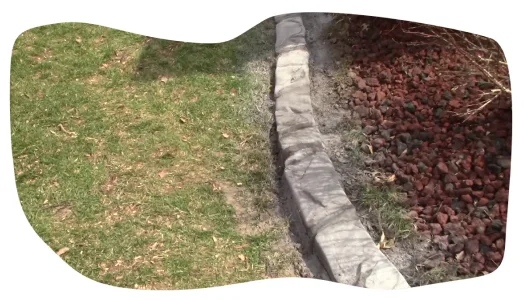
Step 4
Stamping & Coloring
This is where your design really comes to life. We’ll mix colors to reach your favorite choice and stamp it to your chosen design.
Once you’ve agreed to a job well done, we’ll bring our team back to seal the curb
After a few years, we’ll come back for a quick resealing that will keep it looking brand new
Step 5
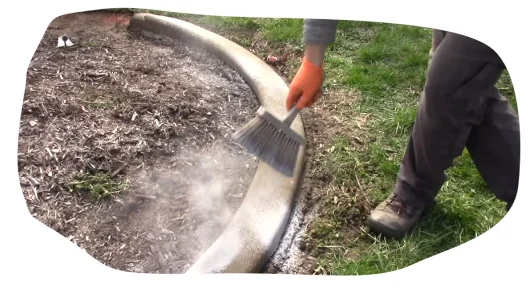
Sealing
Your curb will last for years without chipping, cracking, or fading because of our sealing technique. We’ll come back a few days after the job is done to seal it for durability. Then, we’ll reach back out in a few months to come back and reseal for even longer-lasting curb.
We’ll come to you for approval on a job well done
Our team will come back a few days later to seal the curb
Later that year, we’ll call you to schedule your first resealing